Share Your Wedding Pictures.
How it Works
What we’re all about!
The purpose of our photo sharing platform is to give everyone at the wedding a centralized place to upload pictures. Years ago, couples would often buy disposable cameras and leave them on each table, encouraging guests to use them to help capture the magic of the night. In this day and age, this has been replaced by using wedding hashtags, but there are a few issues with that—first, sometimes the hashtag chosen is not very unique and other people are using it elsewhere on that social media platform, causing you to see pictures from a completely different event; second, the pictures are stored on social media, where sometimes people have privacy settings that keep other fellow guests from seeing them. With our service, anyone who has the album code can upload, see, and save all the great pictures taken by everyone else—regardless of whether or not they know each other.
Register!
Everyone that uses our service needs to register in order to share pictures.
If you're creating a new album you will need to create an "album code" to give to your guests so everyone's pictures end up in the same album.
If you’re here to share your pictures, simply register and use the album code you were given.
Login!
There’s not much to this part of the process. Once you have registered and confirmed your email address, simply log in and upload images to the album.
That's it.... It's just that easy!
Upload pictures you want to share!
Once you have logged in you can upload pictures from devices like iPhones, Android phones, computers and iPads. Acceptable file formats include jpg, png, jpeg, and gif. Not sure what file formats are? That’s ok—we accept the most common formats, and there is very little chance you’d have anything else on your phone or tablet. At this time, the site DOES NOT support video. You can upload one picture at a time or upload multiple pictures. Please keep in mind that some pictures have a large file size that may take some time to upload.
Save pictures!
Depending on the device your using saving images may vary.
Using a computer? follow these steps:
1. Click and hold (Mac) or right mouse click (PC) on of the images below until a dialog box appears.
2. If you are using Internet Explorer, select "download image to disk." If you are using Netscape, select "save this image as."
3. A message will appear asking you where you want to save the image to. Navigate to the folder you have chosen to save the images.
4. Usually, you'll want to rename the image and name it something that will make sense to you a few months down the line. In the "save image as" box, change the name of the picture to the name you have chosen. If you intend to use the image on a web page, make sure there are no spaces in the name you choose.
5. If you are working on a Mac, don’t forget to make sure that the name you choose ends in .jpg—if you are using a PC it will automatically insert this extension for you.
6. Click on the "save" button. You now have an identical copy
Saving to IPhone or iPad?
1. Tap and hold the image you want to save.
2. When the pop-up opens, just tap the “save image” button to save the photo to your camera roll.
Saving to Android Phone?
1. Press and hold down on image until you see a menu.
2. When the pop-up opens, just tap the “save image” button to save the photo to your phone. If you’re downloading a large image, please be advised that it may take a few more seconds for it to download.
Gift Ideas
Great ways to let you guests know to share there pictures

Table/Plate card front

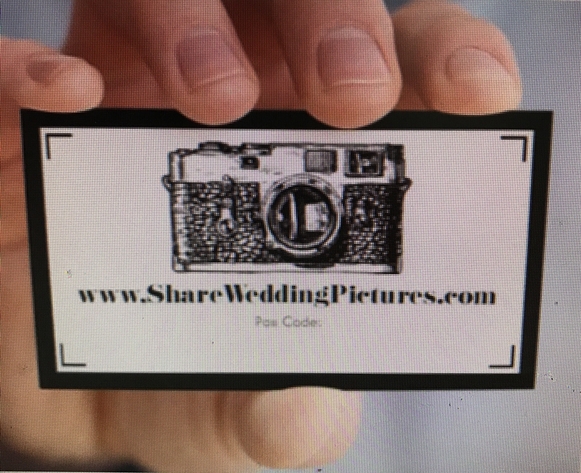
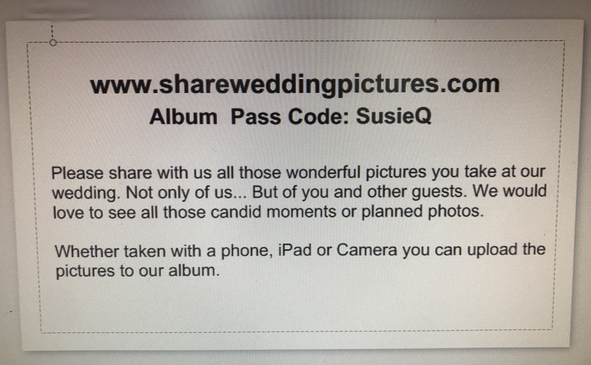
Table/Plate card back
